 Save
Save The sound of the oven beeping as the first batch of these cheesecake bites was done is still fresh in my mind. The kitchen buzzed with scattered graduation cards and laughter trickling in from the next room. I never realized just how satisfying it is to transform a handful of simple ingredients into celebratory treats until I made these for my cousin's party. Baking these in mini muffin tins made me feel a little like I was preparing edible confetti — simple, bright, and designed to make everyone smile. Somehow, the joy of an occasion seemed baked right in.
When I whipped up these cheesecake bites for a friend's graduation bash, the air outside was sticky with early summer warmth and the whole house felt alive. The trays barely hit the table before half were claimed by eager hands and wide grins. Watching someone’s grandma snap a selfie with her plate made me laugh — just seeing how these little desserts drew everyone together is a favorite memory. I even caught myself snagging an extra with a quick wink to my mom, who pretended not to notice. Moments like that are what turn a simple recipe into a celebration.
Ingredients
- Graham cracker crumbs: These are the base for the crust, and pressing them in firmly helps every bite hold together — don’t be shy about using the bottom of a measuring cup.
- Granulated sugar: Adding this to both the crust and filling brings out a gentle sweetness instead of overwhelming the creaminess.
- Unsalted butter: Melted and mixed in the crust, it binds everything and adds a delicious golden edge — just don’t let it cool too much before mixing or it doesn’t spread evenly.
- Cream cheese: It’s the backbone of the filling; letting it soften fully at room temperature is the secret to a smooth, lump-free batter.
- Eggs: These set the mini cheesecakes — add them one at a time and don’t overbeat, or the bites might puff too much and crack.
- Pure vanilla extract: Just a splash gives the filling a warm, familiar aroma that makes them extra inviting.
- Sour cream: Stirred in for a subtle tang and softer texture, it stops things from feeling heavy.
- Salt: Just a pinch keeps flavors balanced and brings out the sweetness.
- Whipped cream (optional): A swirl on top makes these bites party ready; go for lightly sweetened for the best contrast.
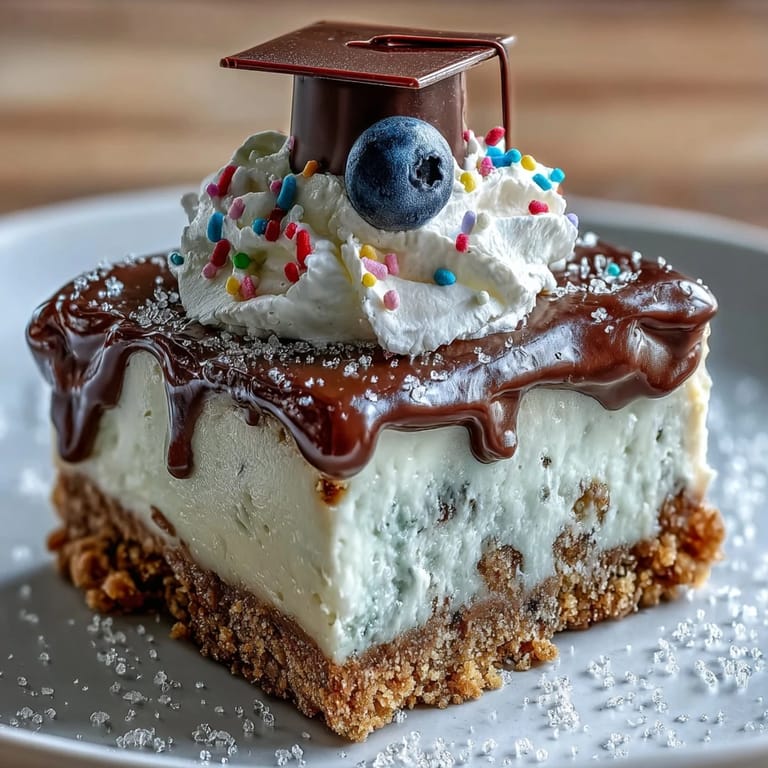
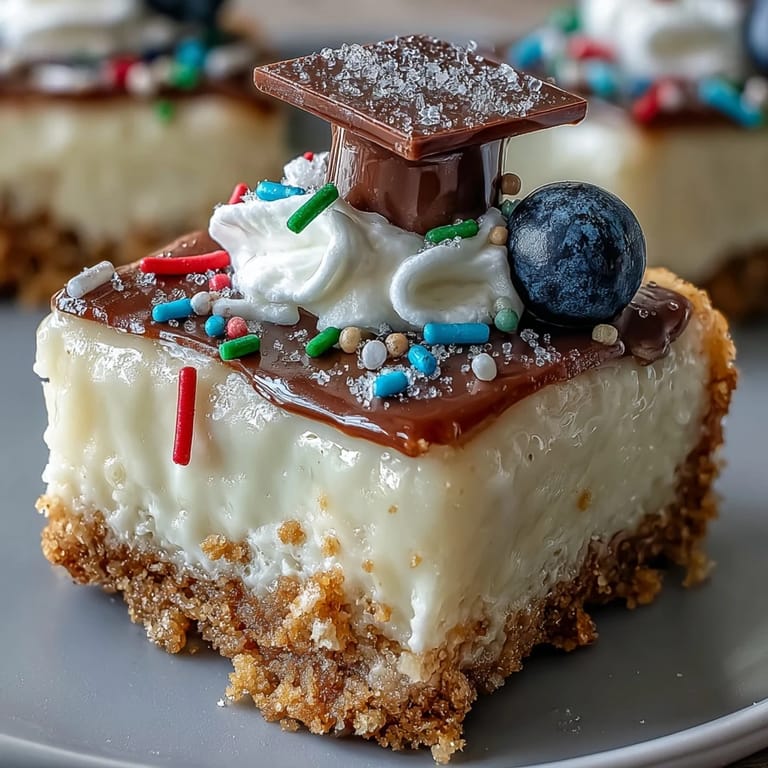
- Festive sprinkles or mini chocolate graduation caps: These playful toppers put a smile on each cheesecake, and homemade chocolate caps add a personal touch.
- Fresh berries: If you want something bright and juicy, a berry or two on top makes them pop and adds just a hint of tartness.
Tired of Takeout? 🥡
Get 10 meals you can make faster than delivery arrives. Seriously.
One email. No spam. Unsubscribe anytime.
Instructions
- Preheat and prep:
- Set your oven to 325°F (160°C) and line every cup of your mini muffin pan with those little paper liners that make serving easy.
- Make the crust:
- Stir together graham cracker crumbs, sugar, and the still-warm melted butter until it smells like baking cookies, then spoon a tablespoon into each cup and press it firmly down.
- Bake the crusts:
- Bake for 5 minutes until the edges look just a shade darker, then set aside and let cool slightly to keep the crusts crisp.
- Whip up filling:
- Beat the cream cheese until smooth and no lumps remain, then slowly add sugar; mix in eggs one at a time, add vanilla, sour cream, and finally a pinch of salt, beating gently until just combined — no need to overdo it.
- Fill the cups:
- Divide the cheesecake batter evenly among the crusts, filling each nearly to the top; they might look tiny, but they puff slightly while baking.
- Bake to perfection:
- Pop the tray in the oven and bake for 13 to 15 minutes, watching for the centers to look set but still give a little jiggle if you nudge the pan.
- Cool them down:
- Let the bites rest in the pan for 10 minutes, then gently move them to a wire rack to cool completely before chilling — patience here makes all the difference.
- Decorate and serve:
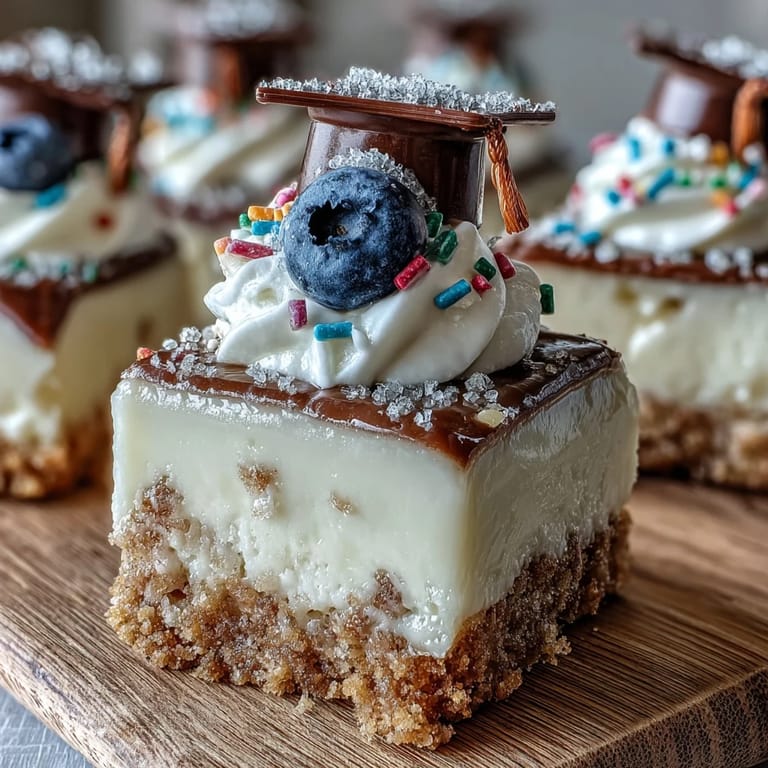
- Just before serving, pipe or dollop whipped cream on top, then go wild with sprinkles, chocolate caps, or a few bright berries for that celebratory touch.
 Pin it
 My favorite part was passing the bites around and realizing how quickly quiet bites turn into storytelling and laughter. Those little cheesecakes started a chain of graduations in our family — now there’s always a reason someone wants them at the next big event. It’s like making joy shareable, one mini at a time.
Decorating Like a Grad Party Pro
The best thing about these cheesecake bites is how much fun you can have with the toppings. We set out a mix of store-bought sprinkles, homemade chocolate caps, and a bowl of fresh berries. Watching everyone decide on their own combination turned the dessert table into its own mini celebration. Kids got especially excited weaving licorice into tassels! If you want a memorable photo moment, invite your guests to decorate their bites themselves — it’s always good for a laugh or two.
Make Ahead and Party Planning
For stress-free party prep, I always bake these the day before and save the whipped cream and toppings until right before guests arrive. This way, I can dodge last-minute disasters — and the texture is somehow even better after a night in the fridge. The aroma from the cooled bites fills the kitchen with a sweet promise. Just keep them loosely covered so the fridge air doesn’t dry them out. No one likes a rubbery cheesecake!
Cheesecake Bite Troubleshooting
Sometimes, a batch will have a few bites with cracked tops — I used to fret about this until I realized a swirl of cream covers anything. Always tap the pan gently on the counter before baking to settle the batter and prevent hidden air bubbles.
- If you want a chocolaty crust, swap out the graham crackers for chocolate cookie crumbs.
- For gluten-free parties, use gluten-free cookies and check your decorations carefully.
- Bring the cream cheese to room temperature for the smoothest filling every time.
 Pin it
 Whether you make these for a milestone or just because you need something sweet, I hope these cheesecake bites bring a little extra joy to your celebration table.
Frequently Asked Questions
- → How can I tell when the mini cheesecakes are done?
Watch for set edges with a slightly jiggly center; the filling firms as it cools. A gentle jiggle in the middle is expected and yields a creamy texture once chilled.
- → What prevents cracks in the filling?
Beat the cream cheese smooth and avoid overmixing after adding eggs. Bake at a moderate temperature and remove promptly to cool slightly; gentle cooling reduces cracking.
- → Can I swap the graham crust for a chocolate crust?
Yes—replace graham crumbs with chocolate cookie crumbs, press firmly into liners and bake briefly. Chocolate crusts add richer flavor that complements the filling.
- → How far ahead can I prepare these bites?
Make them up to one day ahead and refrigerate uncovered until firm, then cover. Add whipped toppings and decorations right before serving to keep them fresh.
- → How do I make a gluten-free version?
Use certified gluten-free cookie crumbs for the crust and check all ingredient labels for hidden gluten or cross-contact risks.
- → What is the best way to store leftovers?
Keep bites covered in the refrigerator for up to 3 days. Serve chilled or bring to a cool room temperature; they don’t require reheating.